
Customizing your WooCommerce checkout page can significantly enhance your customer’s shopping experience and boost your conversion rates. A streamlined and user-friendly checkout process can make all the difference between a completed sale and an abandoned cart. In this post, we’ll explore easy ways to customize your WooCommerce checkout page, ensuring it aligns with your brand and meets your customers’ needs.
Why Customize Your WooCommerce Checkout Page?
Before diving into the customization process, it’s essential to understand why it’s worth the effort:
- Brand Consistency: A customized checkout page reflects your brand’s identity, creating a cohesive shopping experience.
- Improved User Experience: Tailoring the checkout process to your customers’ needs can simplify and expedite their shopping journey.
- Increased Conversions: A well-designed checkout page reduces cart abandonment rates and encourages customers to complete their purchases.
- Enhanced Functionality: Adding or removing fields and steps can streamline the process, making it more efficient.
Getting Started
1. Install a Checkout Page Customization Plugin
The easiest way to customize your WooCommerce checkout page is by using a Checkout Page Customization Plugin. Several plugins are available that offer extensive customization options without requiring coding knowledge. Here are a few popular ones:
- WooCommerce Checkout Manager: Allows you to add, edit, and remove fields on your checkout page.
- Checkout Field Editor for WooCommerce: Provides an intuitive interface for customizing checkout fields.
- CartFlows: Offers advanced checkout page customization along with funnel-building capabilities.
2. Customize Checkout Fields
Once you’ve installed a plugin, you can start customizing the checkout fields to better suit your needs. Here’s how to do it with the WooCommerce Checkout Manager plugin:
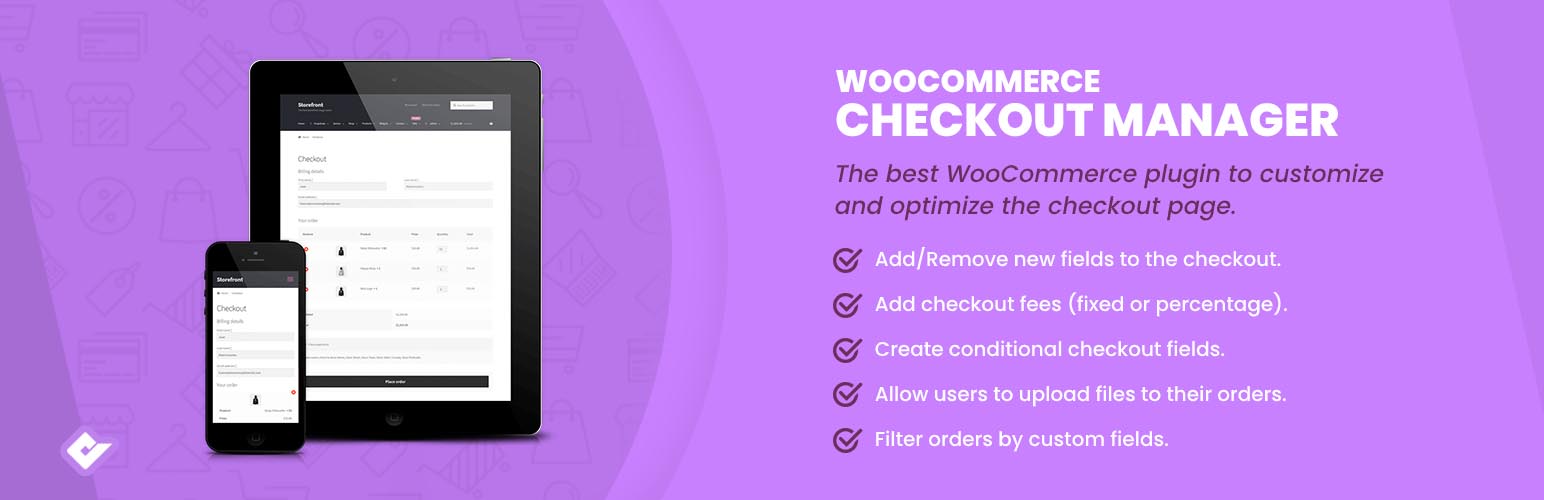
- Access the Plugin Settings:
- Go to your WordPress dashboard.
- Navigate to WooCommerce > Checkout Manager.
- Add, Edit, or Remove Fields:
- Add New Field: Click on the Add Field button. Choose the field type (e.g., text, checkbox, date picker), name the field, and configure its settings.
- Edit Existing Fields: Click on an existing field to edit its label, placeholder, or make it required.
- Remove Unnecessary Fields: Click on the trash icon next to the fields you want to remove.
- Rearrange Fields:
- Drag and drop fields to reorder them according to your preference.
3. Style Your Checkout Page
Styling your checkout page to match your brand is crucial for a seamless shopping experience. You can do this using custom CSS or a page builder plugin like Elementor or Beaver Builder. Here’s a simple way to add custom CSS:
- Navigate to the Customizer:
- Go to Appearance > Customize in your WordPress dashboard.
- Add Custom CSS:
- Click on Additional CSS.
- Enter your custom CSS to style the checkout page elements. For example:
css
.woocommerce-checkout input[type="text"],

.woocommerce-checkout input[type="email"],

.woocommerce-checkout input[type="tel"] {

border-radius: 5px;

border: 2px solid #000;

}

.woocommerce-checkout button {

background-color: #ff6600;

color: #fff;

border-radius: 5px;

}
4. Implement Conditional Fields
Conditional fields help streamline the checkout process by showing or hiding fields based on user input. This can be particularly useful for customizing the experience based on the customer’s shipping or payment preferences.
- Access Conditional Field Settings:
- Go to your Checkout Manager plugin settings.
- Select the field you want to make conditional.
- Set Up Conditions:
- Define the conditions under which the field should appear. For example, show the “Company Name” field only if the “Billing Type” is set to “Business”.
5. Test Your Customizations
Before going live, it’s crucial to test your customizations to ensure everything works smoothly:
- Complete a Test Purchase: Go through the checkout process yourself to check for any issues or areas that need improvement.
- Ask for Feedback: Get feedback from a few customers or colleagues to identify any potential problems or enhancements.
5. Hire Woocommerce Expert
WooCommerce expert is a strategic decision that can significantly impact the success of your online store. Their expertise in customization, integration, optimization, security, and support ensures that your e-commerce business operates at its best, providing a seamless and secure shopping experience for your customers. Don’t settle for mediocrity—hire a WooCommerce expert and take your online store to the next level.
Conclusion
Customizing your WooCommerce checkout page doesn’t have to be complicated. With the right plugins and a bit of creativity, you can create a seamless, branded, and user-friendly checkout experience that can significantly improve your conversion rates. Start with simple changes, test thoroughly, and continuously optimize based on customer feedback. Happy selling!
Leave a Reply